简体中文
简体中文 English
 русский
 Español
 Français
 عربى
عربى Português
 日本語
日本語 italiano
 Nederlands
 Polskie
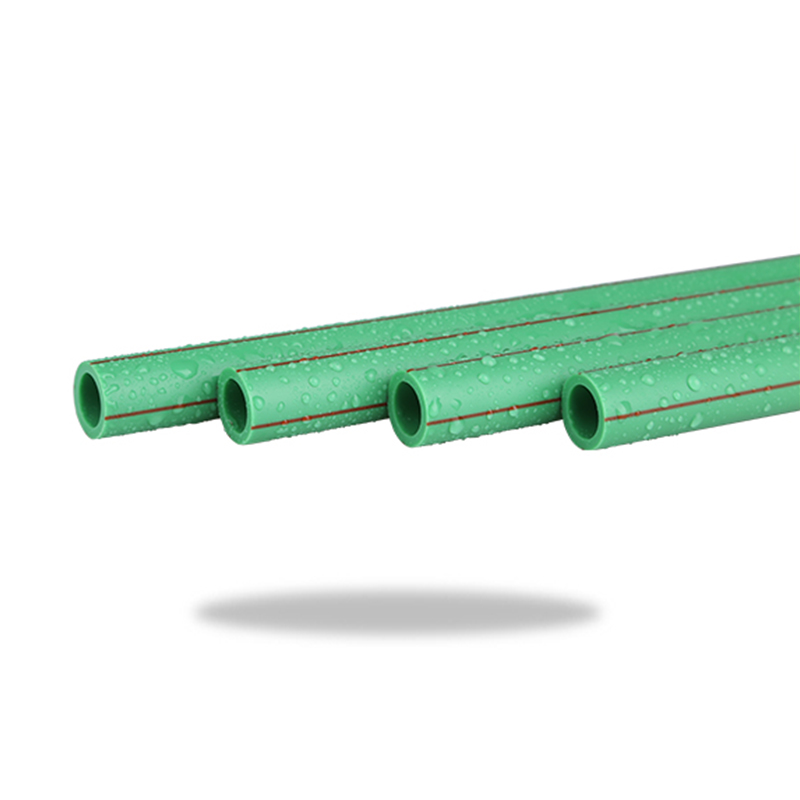
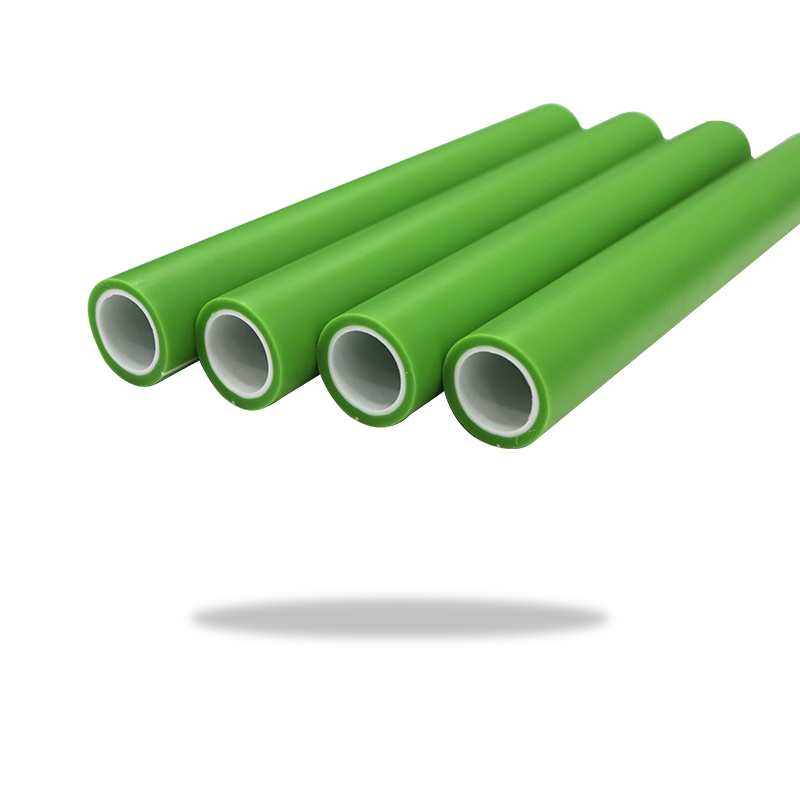
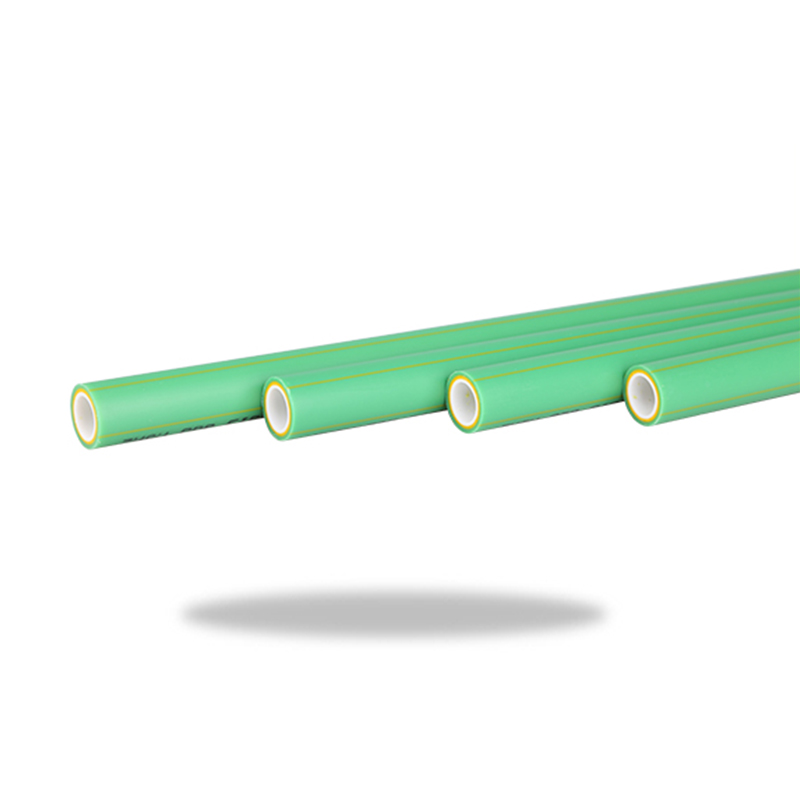
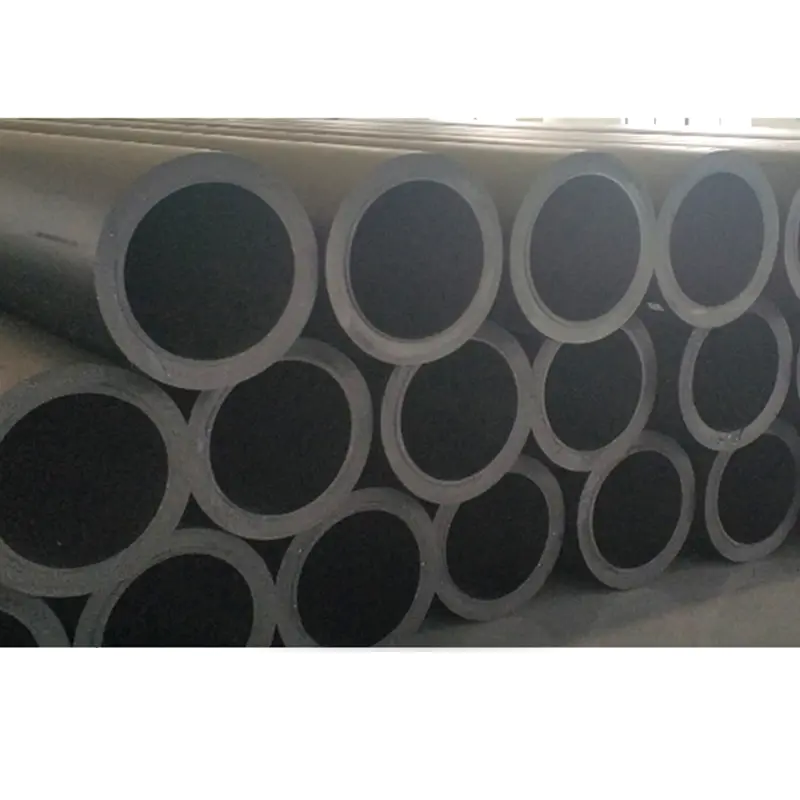
A PPR coupling is a pipe fitting made from polypropylene random copolymer (PPR) used to join two PPR pipes in a straight line. It creates a leak-proof, permanent connection through heat fusion — no glue, no threads, no clamps. PPR couplings are the standard choice for hot and cold water supply systems in residential and commercial buildings because of their durability, corrosion resistance, and ability to handle pressures up to 25 bar at room temperature.
If you're planning a plumbing installation or repair, understanding the types of PPR couplings, their specifications, and how to install them correctly will save you time, money, and future leaks.
Content
What PPR Coupling Actually Does
PPR couplings connect two pipe segments end-to-end, typically when a pipe run is too long for a single piece or when replacing a damaged section. Unlike metal fittings, PPR couplings are fused directly to the pipe using a polyfusion welding tool that heats both the pipe end and the fitting socket simultaneously to around 260°C (500°F). When joined and cooled, the two pieces become a single, monolithic structure with no weak joint interface.
This fusion method gives PPR couplings a significant advantage: the joint is often stronger than the pipe itself, meaning failures almost always occur in the pipe wall rather than at the fitting. This is why PPR systems have an expected service life of 50+ years under normal operating conditions.
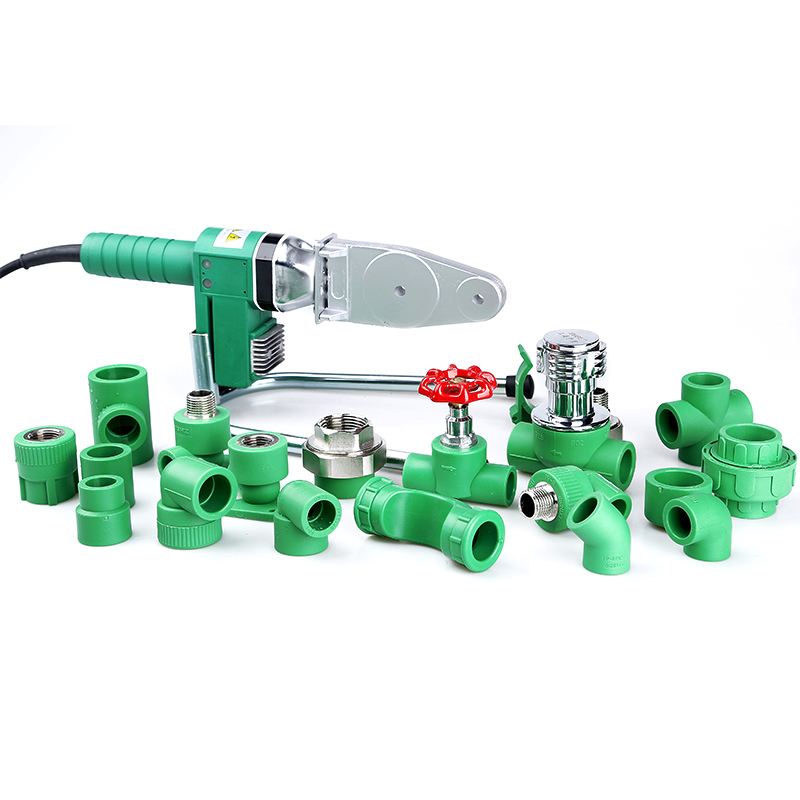
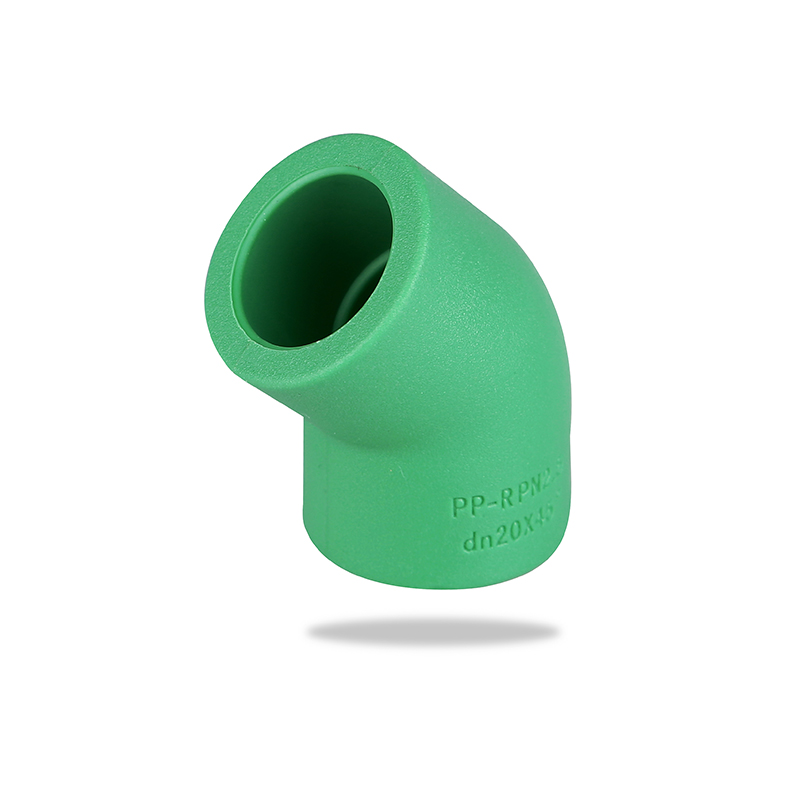
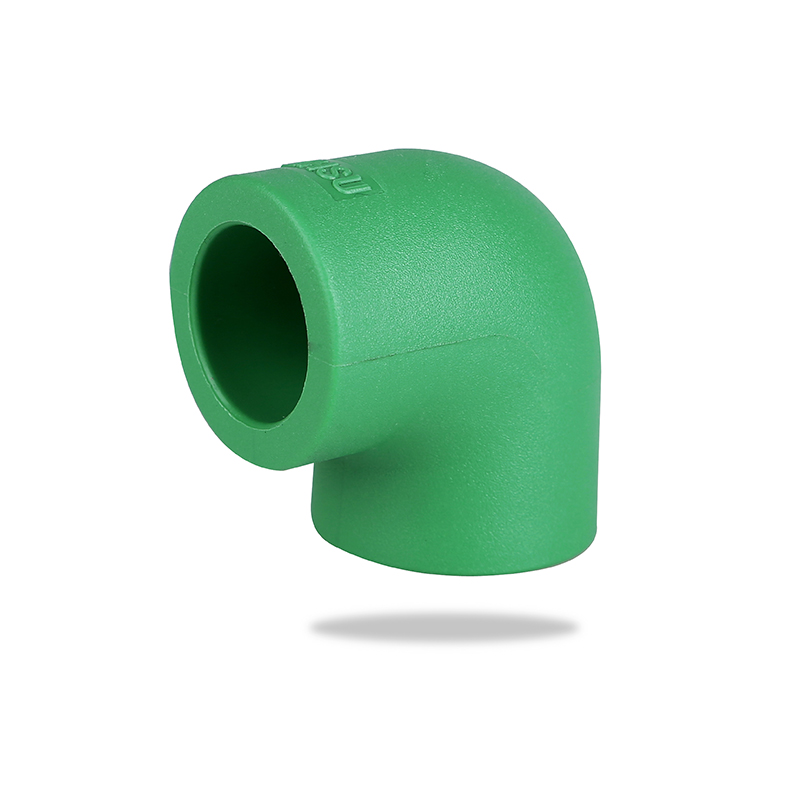
Types of PPR Couplings
Not all PPR couplings are the same. Each type serves a specific installation scenario. Choosing the wrong type is a common mistake that leads to wasted fittings or improper connections.
Equal (Plain) Coupling
Joins two pipes of the same diameter. This is the most commonly used PPR coupling in standard plumbing runs. Both ends are socket-type and accept the same pipe size.
Reducing Coupling
Used to connect two pipes of different diameters in a straight run — for example, transitioning from a 32mm main line to a 20mm branch feed. Reduces the need for additional adapters.
Union Coupling (Dismantlable)
Features a mechanical union nut that allows the joint to be disconnected and reconnected without cutting pipes. Ideal for use near appliances, meters, or valves that may need future servicing. This is the only PPR coupling that is not permanent.
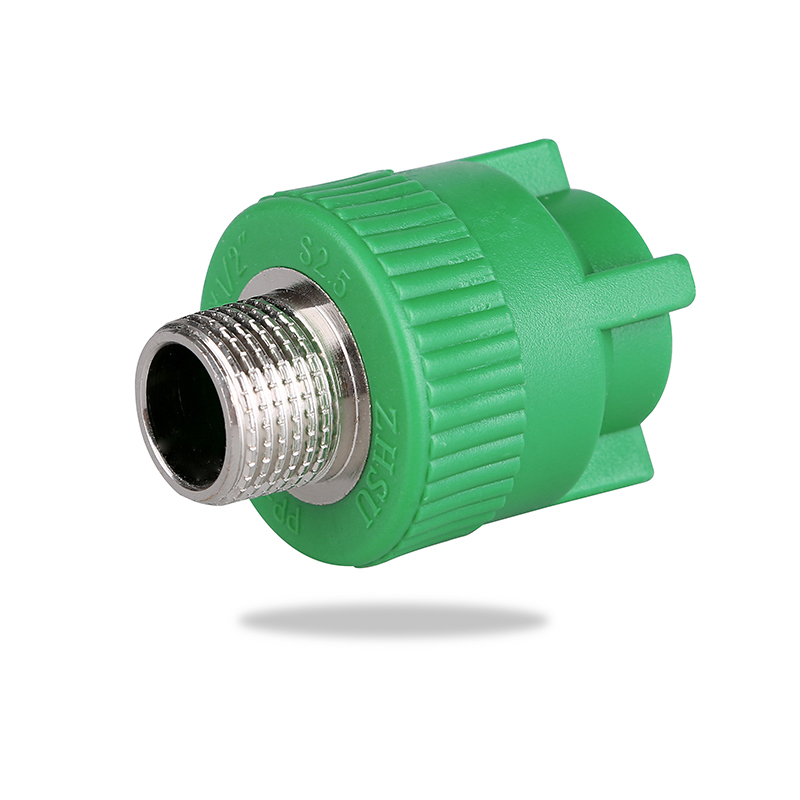
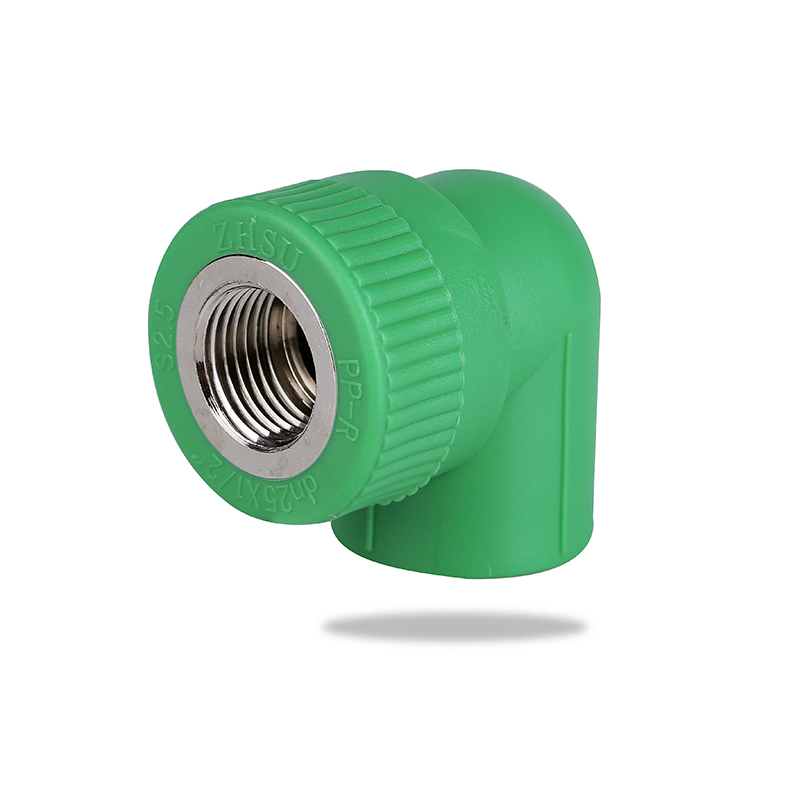
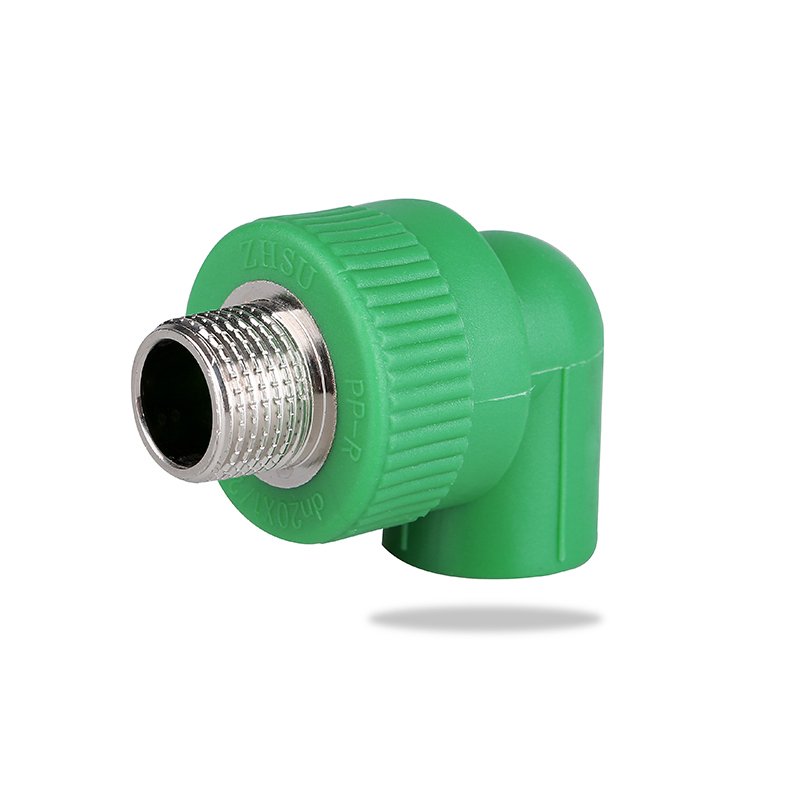
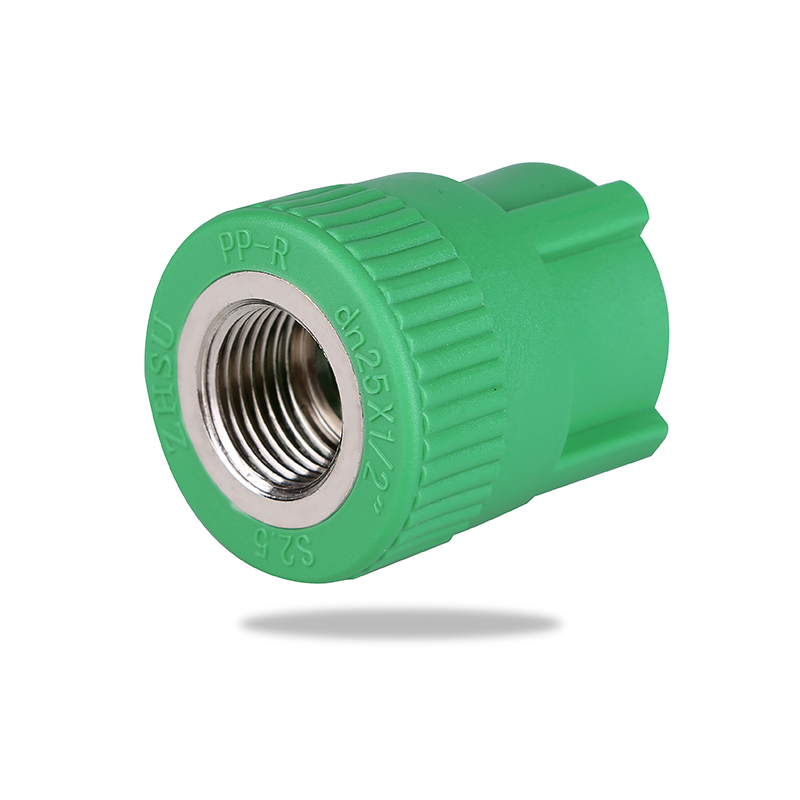
Male/Female Threaded Coupling
One end is a PPR fusion socket; the other end carries a metal (usually brass) threaded connection — either male (external thread) or female (internal thread). Used to transition from a PPR system to a metal threaded fitting, valve, or appliance.
| Coupling Type | Connection Style | Removable? | Best Use Case |
|---|---|---|---|
| Equal Coupling | Socket × Socket (same size) | No | Extending a pipe run |
| Reducing Coupling | Socket × Socket (different sizes) | No | Diameter transitions |
| Union Coupling | Fusion + mechanical nut | Yes | Serviceable locations |
| Threaded Coupling | Socket × BSP/NPT thread | Thread side only | PPR-to-metal transitions |
PPR Coupling Size Chart and Pressure Ratings
PPR pipe and fittings are classified by their SDR (Standard Dimension Ratio), which determines the wall thickness and pressure class. The most common classes used in building plumbing are PN16 and PN20 (PN = Pressure Nominal, in bar at 20°C).
| Outer Diameter (mm) | PN Rating | Max Pressure (bar) | Common Use |
|---|---|---|---|
| 20mm | PN20 | 20 | Residential hot/cold supply |
| 25mm | PN20 | 20 | Residential main lines |
| 32mm | PN16 | 16 | Commercial risers, floors |
| 40mm | PN16 | 16 | Commercial distribution |
| 63mm | PN16 | 16 | Industrial / building mains |
Note: pressure ratings drop significantly at elevated temperatures. At 70°C, a PN20 fitting is rated for roughly 8 bar; at 95°C, it drops to around 3.2 bar. Always check the manufacturer's derating curves for hot water systems.
How to Install a PPR Coupling Step by Step
Polyfusion welding is straightforward, but errors in timing or temperature cause weak joints. Follow these steps precisely for a reliable result.
Tools You Need
- PPR pipe cutter or fine-toothed saw
- Polyfusion welding machine with correct die sizes
- Deburring tool or fine sandpaper
- Clean cloth and isopropyl alcohol
- Depth marker or pencil
Installation Steps
- Cut the pipe square. An angled cut creates an uneven melt and a weak joint. Use a dedicated pipe cutter for a clean, perpendicular end.
- Deburr and clean. Remove any burrs from the pipe end and wipe both the pipe exterior and coupling socket with isopropyl alcohol. Contamination from oils or dust prevents proper fusion.
- Mark insertion depth. Measure the socket depth of the coupling and mark this distance on the pipe end. This ensures full engagement during welding.
- Heat the welding iron to 260°C. Wait until the indicator light confirms the correct temperature. Using an iron that's too cool is one of the most common causes of joint failure.
- Heat pipe and fitting simultaneously. Push the pipe end onto the spigot die and the coupling socket onto the socket die at the same time. Hold for the correct heating time (see table below).
- Join immediately. Remove both from the iron and push the pipe straight into the coupling up to your depth mark — without twisting. Any rotation will smear the molten material and weaken the joint.
- Hold still during cooling. Maintain firm pressure for the full cooling time. Movement during this phase creates voids or a misaligned joint.
| Pipe OD (mm) | Heating Time (sec) | Joining Time (sec) | Cooling Time (sec) |
|---|---|---|---|
| 20 | 5 | 4 | 120 |
| 25 | 7 | 4 | 120 |
| 32 | 8 | 6 | 180 |
| 40 | 12 | 6 | 180 |
| 63 | 24 | 8 | 240 |
Common PPR Coupling Mistakes and How to Avoid Them
Most PPR coupling failures in the field are installation errors, not material defects. These are the mistakes that appear most frequently:
Under-Heating the Joint
If the iron hasn't fully reached 260°C or heating time is too short, the pipe surface won't melt properly. The result looks like a good joint but will fail under pressure — often within the first pressure test. Always wait for the temperature indicator, not just the timer.
Twisting During Assembly
Rotating the pipe as you push it into the coupling is a reflex move that feels natural but destroys the joint. The molten material is directionally aligned; twisting breaks that alignment. Push straight in, hold straight, and release.
Mismatched Brands or SDR Classes
PPR is not universally standardized in wall thickness tolerances across brands. Mixing a PN20 pipe from one manufacturer with a PN16 coupling from another may leave gaps in the fusion zone. Use couplings and pipes from the same manufacturer and the same SDR class wherever possible.
Skipping the Pressure Test
All PPR installations should undergo a hydrostatic pressure test at 1.5× the working pressure for a minimum of 30 minutes before closing walls or burying pipes. Discovering a leak after the ceiling is plastered costs far more than a pressure gauge.

PPR Coupling vs Other Pipe Coupling Types
PPR is not the only option for water supply piping, but it compares favorably across most practical dimensions:
| Feature | PPR | Copper | CPVC | PEX |
|---|---|---|---|---|
| Joint method | Heat fusion | Solder / press | Solvent cement | Crimp / clamp |
| Max temp (continuous) | 95°C | 110°C | 93°C | 82–95°C |
| Corrosion resistance | Excellent | Moderate | Good | Excellent |
| Material cost | Low | High | Low–Medium | Low–Medium |
| Special tool required | Yes (fusion iron) | Yes (torch/press) | No | Yes (crimp tool) |
| Service life | 50+ years | 50+ years | 25–50 years | 25–50 years |
PPR's main advantage over copper is cost and corrosion immunity; its advantage over CPVC is that heat-fused joints don't rely on chemical adhesives that can dry out or crack. Compared to PEX, PPR is more rigid — which makes it better for exposed or buried installations but less forgiving in tight routing scenarios.
Buying Guide: What to Look for in a PPR Coupling
Not all PPR fittings sold on the market are manufactured to the same standards. Lower-quality couplings use recycled or blended polypropylene that can fail at lower temperatures or pressures. Here's what to check before buying:
- Standard compliance: Look for DIN 8077/8078 (Germany), ISO 15874, or ASTM F2389 (US) markings on the fitting itself.
- Material grade: The fitting should be stamped "PPR" or "PP-R Type 3" — not just "PP" which may refer to cheaper polypropylene homopolymer grades.
- Wall thickness consistency: Check the socket depth and internal diameter match the pipe OD tightly. Loose sockets indicate poor manufacturing tolerances.
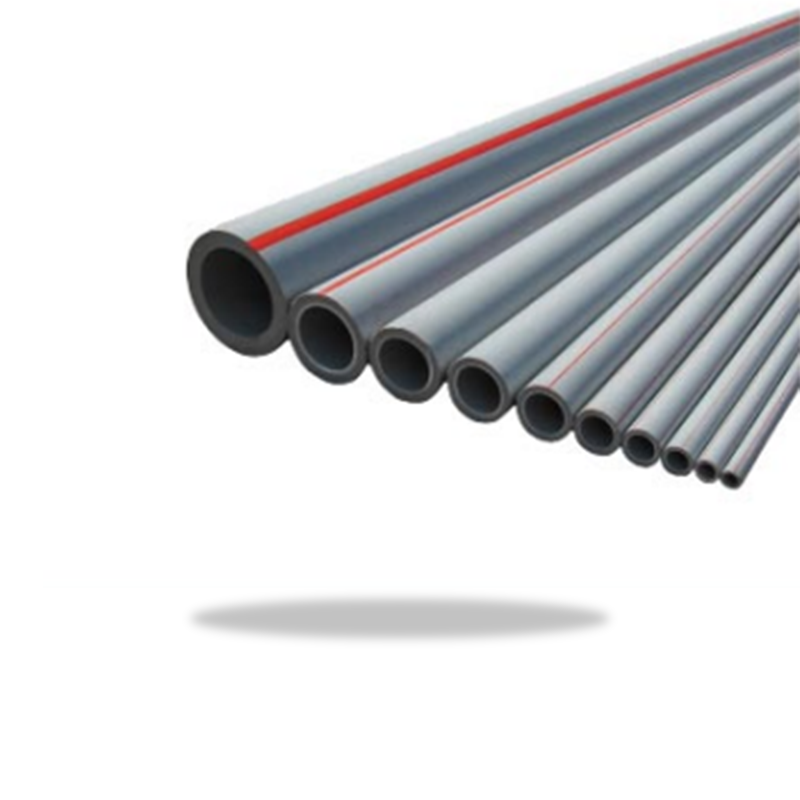
- Color: Standard PPR is grey or green. White and other colors are used in some markets but should still meet the same material specification. Avoid fittings where the color appears uneven, streaky, or translucent — signs of poor resin quality.
- Brand traceability: Reputable manufacturers stamp the fitting with the brand, size, PN rating, and production batch. Anonymous fittings with no markings offer no quality guarantee.