简体中文
简体中文 English
 русский
 Español
 Français
 عربى
عربى Português
 日本語
日本語 italiano
 Nederlands
 Polskie
Content
Introduction to PPR Tee Installation
PPR Tee fittings are essential components in plumbing systems, allowing for the branching of pipelines in residential, commercial, and industrial applications. Proper installation ensures leak-free connections, long-term durability, and reliable water flow. This guide provides detailed instructions and tips for installing PPR Tee fittings securely.
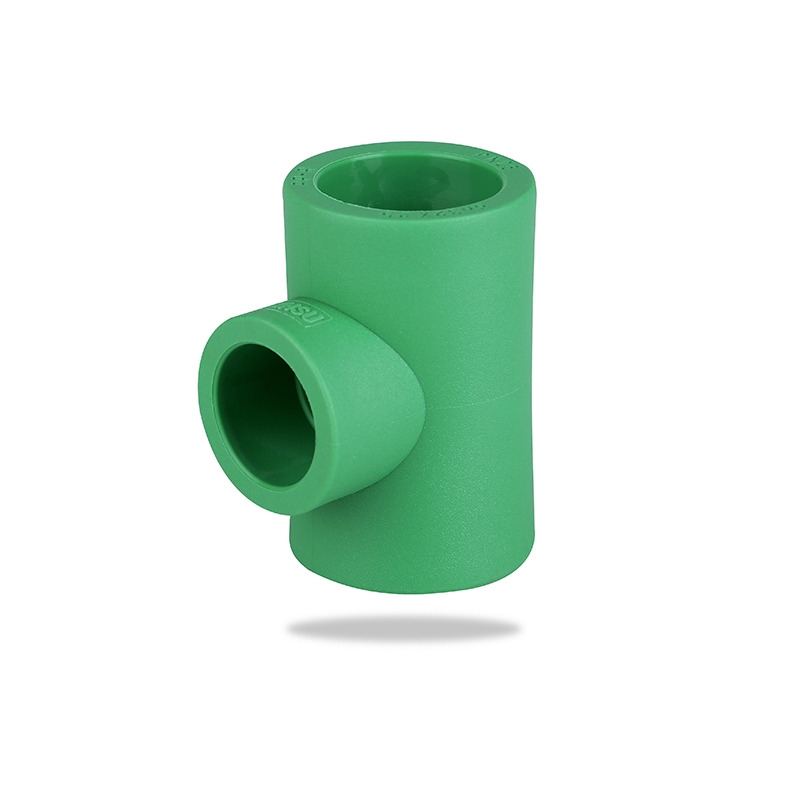
Understanding PPR Tee Components
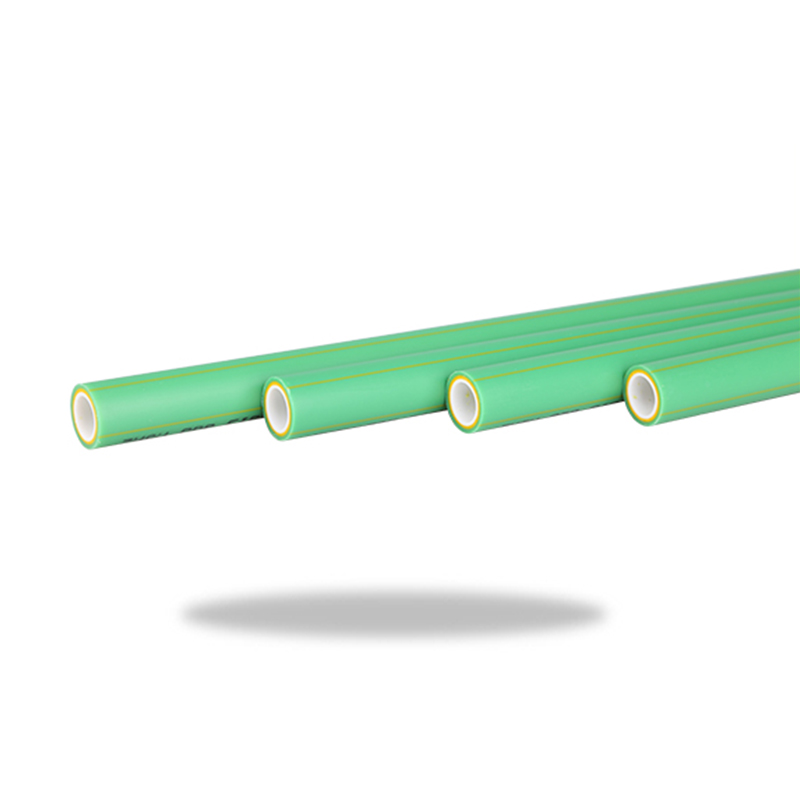
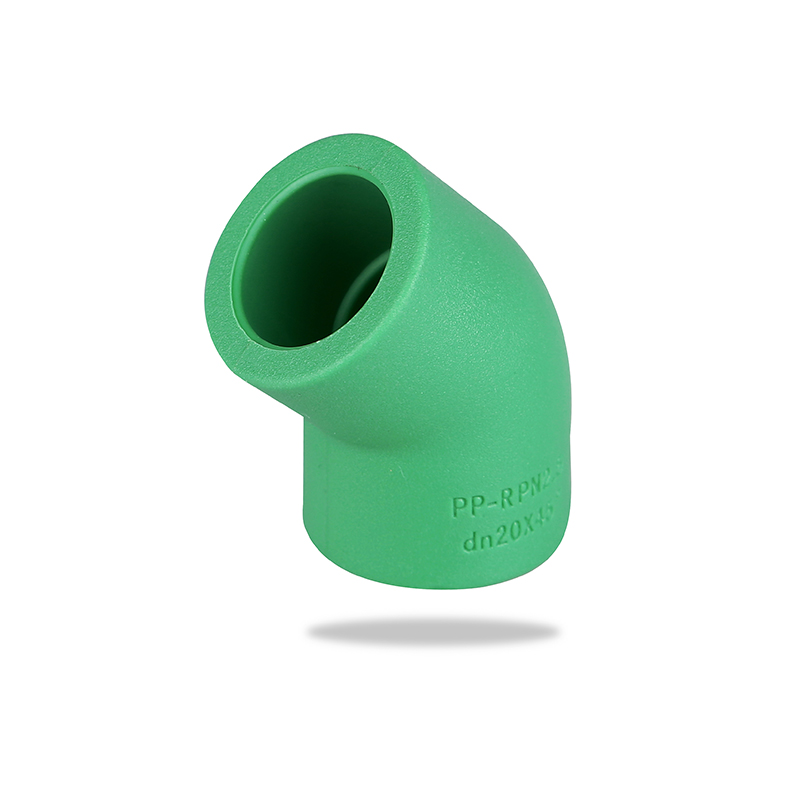
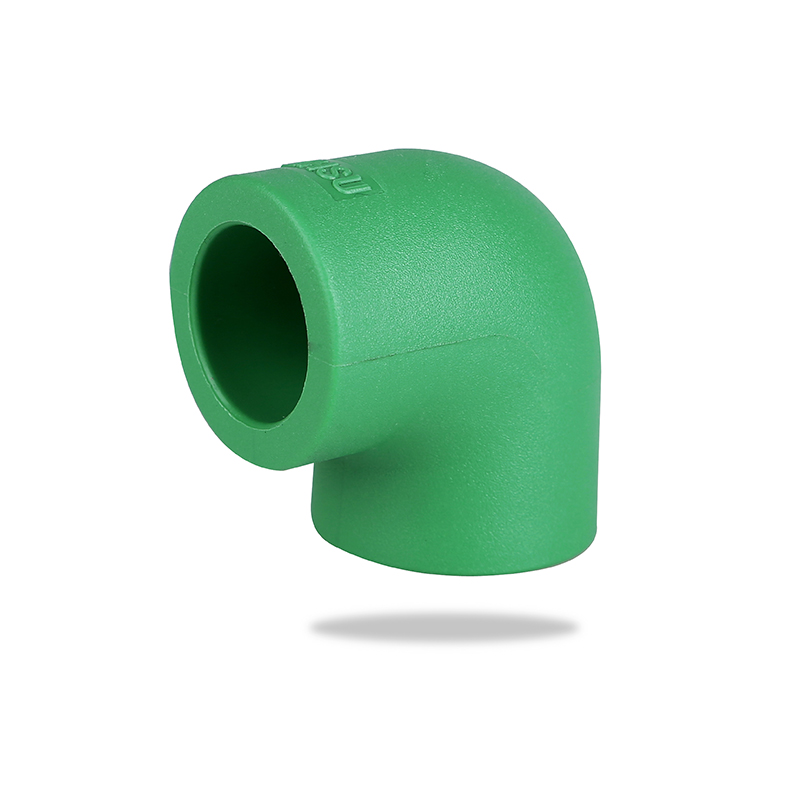
Before installation, it is crucial to understand the structure and purpose of a PPR Tee. A typical PPR Tee consists of three connections: one inlet and two outlets, forming a T-shaped junction. These fittings are designed to connect three pipes of the same or different diameters, and they are commonly used in hot and cold water pipelines.
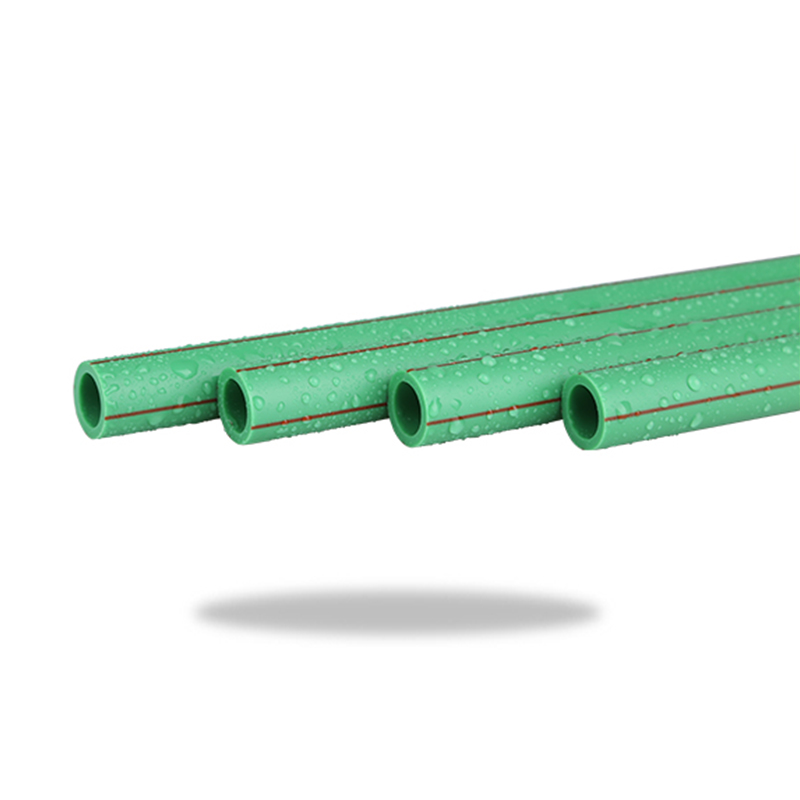
Materials and Standards
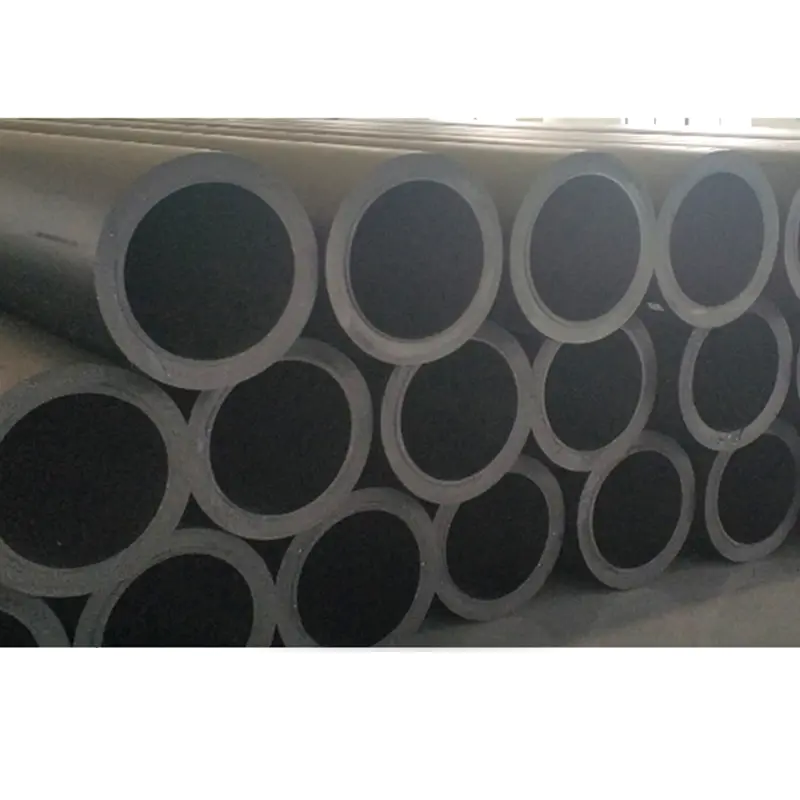
PPR Tees are made from polypropylene random copolymer (PPR), which offers high temperature and pressure resistance. It is essential to choose fittings that meet national or international plumbing standards to ensure safety and longevity.
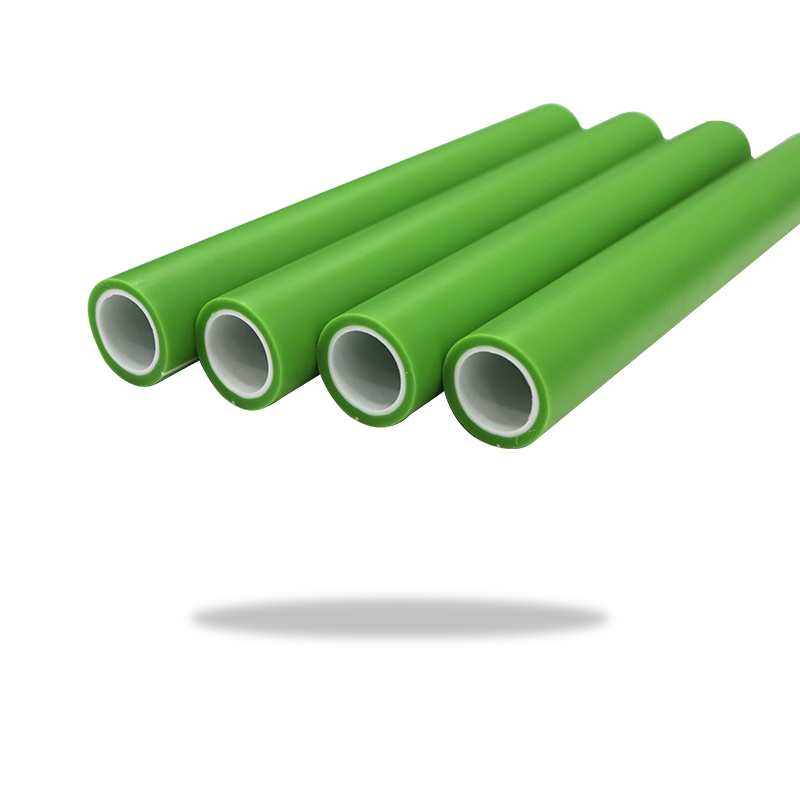
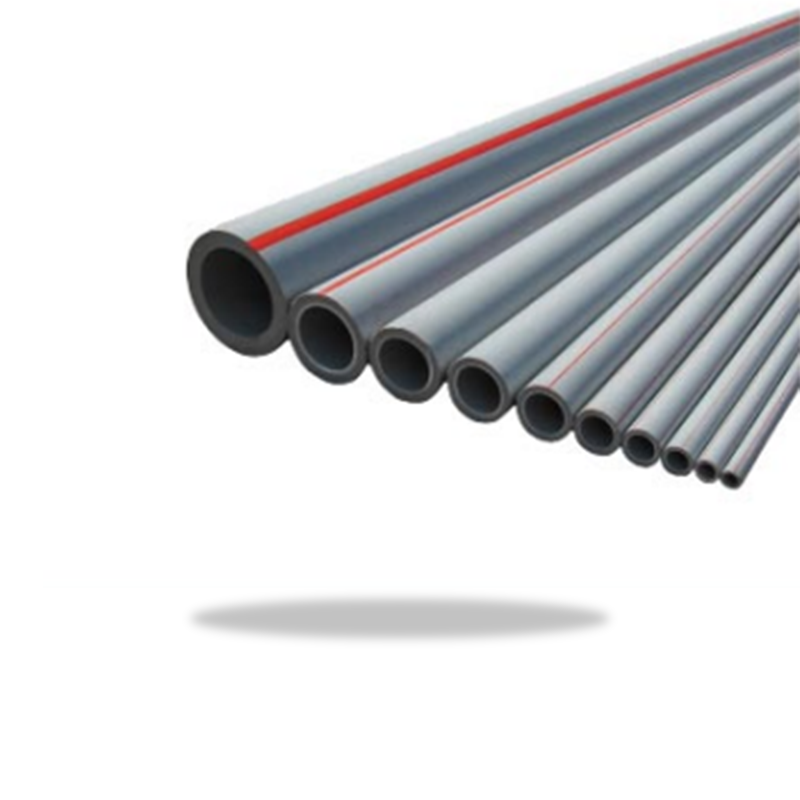
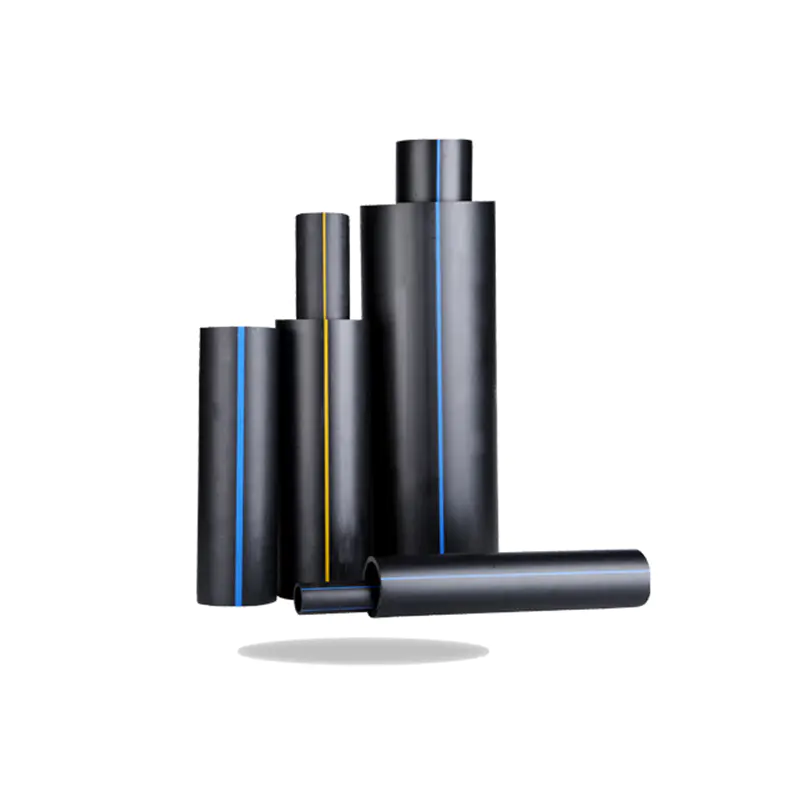
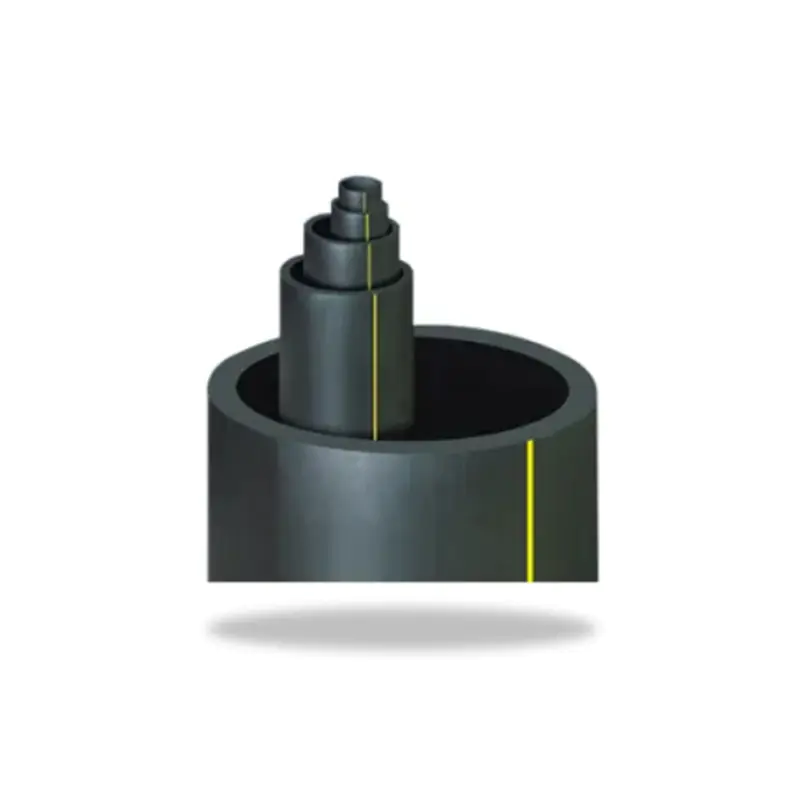
Size and Compatibility
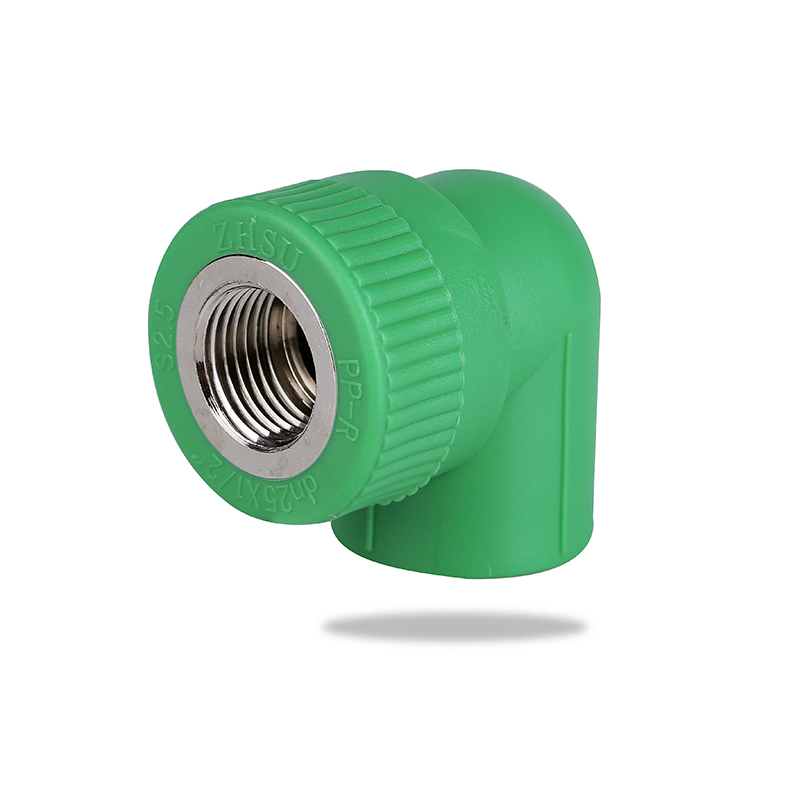
Selecting the correct size is critical. PPR Tees come in various diameters, and compatibility with the connecting pipes must be verified. Using mismatched sizes can lead to leaks and reduced flow efficiency.
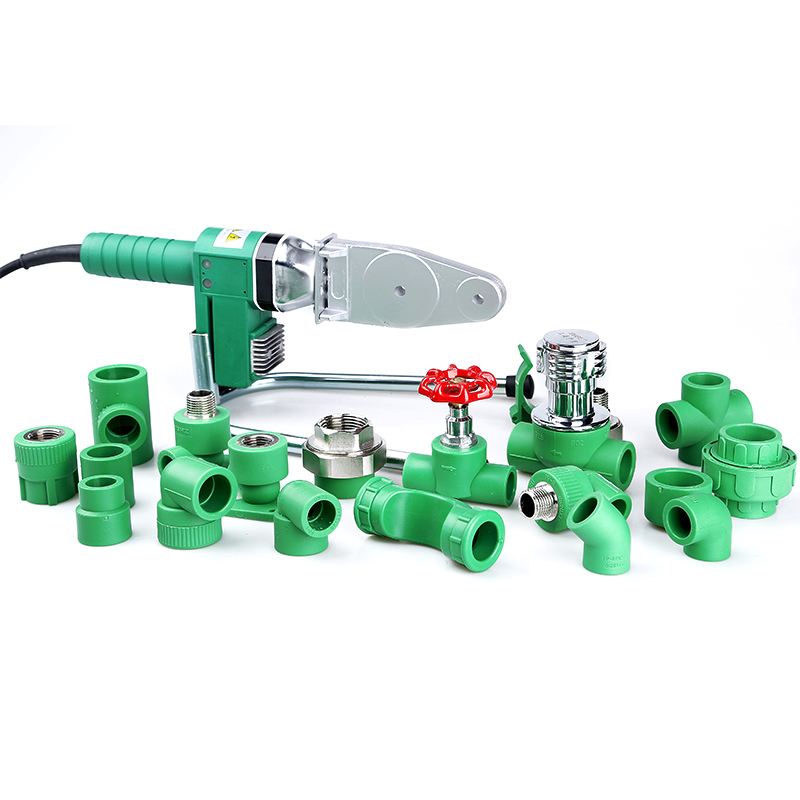
Tools and Equipment Needed
A secure PPR Tee installation requires specific tools and equipment to ensure precision and reliability. Commonly used tools include:
- Pipe cutter for clean and accurate cuts.
- Heat fusion welding machine for connecting pipes and fittings.
- Measuring tape and marker for precise alignment.
- Deburring tool to remove rough edges from cut pipes.
- Protective gloves and goggles for safety.
Step-by-Step PPR Tee Installation
Installing a PPR Tee securely involves careful preparation, precise measurement, and proper fusion techniques. Follow these steps to ensure a reliable connection:
Step 1: Measure and Cut Pipes
Measure the required length for each pipe connected to the Tee. Use a pipe cutter to make straight, clean cuts. Ensure that the pipe ends are free from burrs, as rough edges can compromise the fusion process.
Step 2: Heat Fusion Process
Set the fusion machine to the recommended temperature for PPR material. Insert the pipe and the Tee fitting into the heating sockets simultaneously. Heat them for the time specified by the manufacturer, typically a few seconds depending on diameter.
Step 3: Join Pipes and Tee
After heating, quickly remove the pipe and fitting from the heating machine and connect them firmly. Align the pipe with the Tee carefully and push it to the specified depth. Hold in position for a few seconds to allow the material to fuse properly.
Step 4: Cooling and Inspection
Allow the joint to cool naturally for a few minutes. Avoid moving or applying stress to the connection during this period. Inspect the joint for proper alignment and a uniform fusion bead around the circumference.
Common Installation Mistakes to Avoid
Even small mistakes during installation can lead to leaks, reduced durability, or system failures. Common errors include:
- Incorrect pipe cutting resulting in angled or rough ends.
- Overheating or underheating during fusion, which affects joint strength.
- Misalignment of pipes and fittings during connection.
- Moving the joint before the fusion has cooled properly.
- Using incompatible pipe and fitting sizes.
Maintenance and Longevity Tips
After installation, proper maintenance ensures the PPR Tee remains secure and leak-free for years. Recommended practices include:
- Regular inspection for leaks or damage at joints.
- Avoiding mechanical stress or bending on fused joints.
- Cleaning pipes and fittings periodically to prevent sediment buildup.
- Ensuring water pressure does not exceed the specified limit for PPR pipes.
Comparison Table: PPR Tee Installation Factors
| Factor | Best Practice | Common Mistake |
| Pipe Cutting | Straight cut with deburred edges | Angled or rough cut |
| Fusion Heating | Manufacturer-recommended temperature | Overheating or underheating |
| Alignment | Precise, centered connection | Misaligned or tilted joint |
| Cooling | Hold joint until fully cooled | Moving joint too soon |
| Maintenance | Regular inspection and pressure monitoring | Neglecting joint and pipe conditions |
Conclusion
Secure installation of a PPR Tee requires careful measurement, correct heating, precise alignment, and adequate cooling. Avoiding common mistakes and following maintenance guidelines ensures long-lasting, leak-free performance. By adhering to these practices, homeowners and professionals can create reliable plumbing systems that meet safety and durability standards.